Understanding Gluten-Free Garlic Bread
Gluten-free garlic bread is more than just a tasty addition to dinner; it’s a way for gluten-free eaters to enjoy classic comfort food without worry. Made using gluten-free bread and a rich, garlicky butter spread, this dish is indulgent yet simple.
What Is Gluten-Free Garlic Bread?
At its core, gluten-free garlic bread mirrors the traditional version but swaps out wheat-based bread for a gluten-free alternative. The trick? Finding a bread that holds up under the broiler while soaking up all that delicious garlic butter. You can use a store-bought loaf or bake your own.
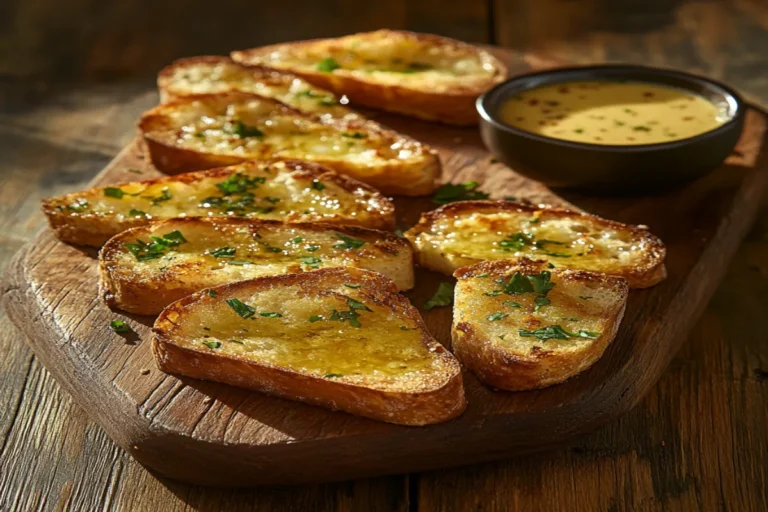
The process is pretty straightforward – gluten-free baguettes, rustic bread, or even sandwich slices work beautifully. Slather them with garlic butter, toast to perfection, and voilà – irresistible, crispy bread that’s safe to eat!
Types of Gluten-Free Bread to Use
Not all gluten-free bread is created equal. For garlic bread, sturdier options like gluten-free ciabatta, baguettes, or sourdough alternatives tend to hold up best. Avoid overly soft or crumbly breads, as they may fall apart under heat.
If you can’t find a good store-bought option, making homemade gluten-free bread gives you full control over the texture. Look for bread recipes that include xanthan gum or psyllium husk – these ingredients mimic gluten’s elasticity, helping the bread stay firm yet tender.
Importance of Gluten-Free Options
A gluten-free diet isn’t just trendy; for millions, it’s essential. Whether dealing with celiac disease or gluten sensitivity, cutting out gluten can alleviate symptoms like bloating, fatigue, and inflammation. But here’s the kicker – going gluten-free doesn’t mean sacrificing flavor or indulgence.
Health Benefits and Dietary Considerations
Homemade gluten-free garlic bread offers peace of mind and the joy of indulging in a classic side dish safely. The absence of gluten reduces digestive discomfort for those with sensitivities. Additionally, garlic is known for its anti-inflammatory and immune-boosting properties, making this dish not only tasty but beneficial.
For more on gluten-free living, check out Understanding Celiac Disease to learn how avoiding gluten can improve overall health.
Ingredients and Preparation

Essential Ingredients for Gluten-Free Garlic Bread
When it comes to gluten-free garlic bread, the magic lies in choosing the right ingredients. It’s not just about swapping regular bread for a gluten-free version – it’s about layering flavors and textures to create that crispy, buttery bite everyone craves. The good news? With a few pantry staples and some creativity, you can whip up a loaf that rivals any bakery’s offering.
Selecting Gluten-Free Bread
The foundation of great gluten-free garlic bread starts with, well, the bread. The texture, taste, and structure matter more than you think. Unlike traditional bread, gluten-free varieties can be denser or crumblier, which means picking the right one can make or break your recipe.
Store-Bought vs. Homemade Options
Store-bought gluten-free bread has come a long way – but not all are created equal. Look for options that are light, airy, and don’t crumble at the slightest touch. Brands that specialize in gluten-free baking (like Schär or Canyon Bakehouse) often offer the best texture and flavor.
If you’re feeling adventurous, homemade gluten-free bread offers unparalleled freshness. Baking it yourself lets you control the texture and taste from start to finish. Try using a gluten-free flour blend that contains xanthan gum or psyllium husk – these act as binders and help mimic the elasticity of gluten.
Garlic Butter Mixture
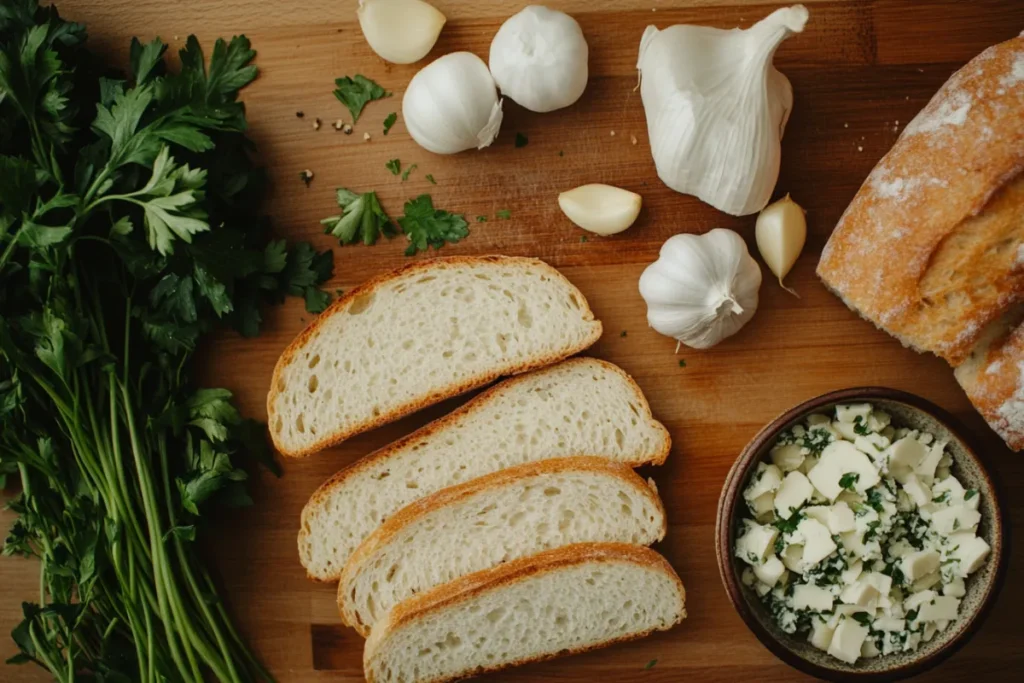
Now, onto the star of the show – the garlic butter. A rich, flavorful spread elevates your bread from bland to brilliant. This concoction typically blends softened butter with minced garlic, fresh parsley, and a pinch of salt. But why stop there?
Dairy-Free Alternatives
Need to go dairy-free? No problem. Swap the butter for vegan alternatives like coconut oil or margarine. Olive oil also works well, giving the bread a lighter, Mediterranean twist. If you’re looking for more inspiration, check out this guide on Dairy-Free Butter Alternatives for the best options.
Optional Toppings
Plain gluten-free garlic bread is already mouthwatering, but adding toppings can take it to the next level.
Cheese Variations
Melted cheese – need we say more? Opt for mozzarella for that classic gooey stretch or parmesan for a sharper kick. If you’re dairy-free, vegan cheeses melt surprisingly well and add that indulgent touch.
Step-by-Step Preparation Guide
How to Make Gluten-Free Garlic Bread
Let’s get down to business – it’s time to turn simple ingredients into golden, crispy gluten-free garlic bread. The process isn’t rocket science, but there’s an art to getting that perfect balance between crunchy edges and soft, buttery centers. Whether you prefer the oven or air fryer method, this guide has you covered.
Preparing the Bread
First things first – slice your gluten-free bread. If you’ve got a baguette or rustic loaf, cut it lengthwise to maximize surface area (more room for garlic butter!). For sandwich bread, slice thickly to avoid burning. If the bread feels dry, don’t sweat it – the garlic butter will revive it.
Here’s a pro tip: Lightly toast the slices before applying butter if the bread is extra soft. This prevents sogginess and adds an extra layer of crunch.
Making the Garlic Butter
Now, onto the fun part – crafting that rich, garlicky spread. In a bowl, combine:
- ½ cup of softened butter (or a dairy-free alternative)
- 3–4 cloves of minced garlic (or more, if you’re a garlic lover)
- 1 tablespoon of chopped fresh parsley
- ¼ teaspoon of salt
- A pinch of black pepper
Mix everything until it forms a smooth, creamy consistency. If the butter’s too hard, microwave it for 10-15 seconds – but don’t melt it completely. For an extra punch, add a sprinkle of garlic powder or a splash of olive oil.
Assembling and Baking
Lay your bread slices flat and generously spread the garlic butter over each piece. Don’t hold back – the more butter, the better. Sprinkle grated cheese or vegan mozzarella on top if you’re feeling indulgent.
Oven Method
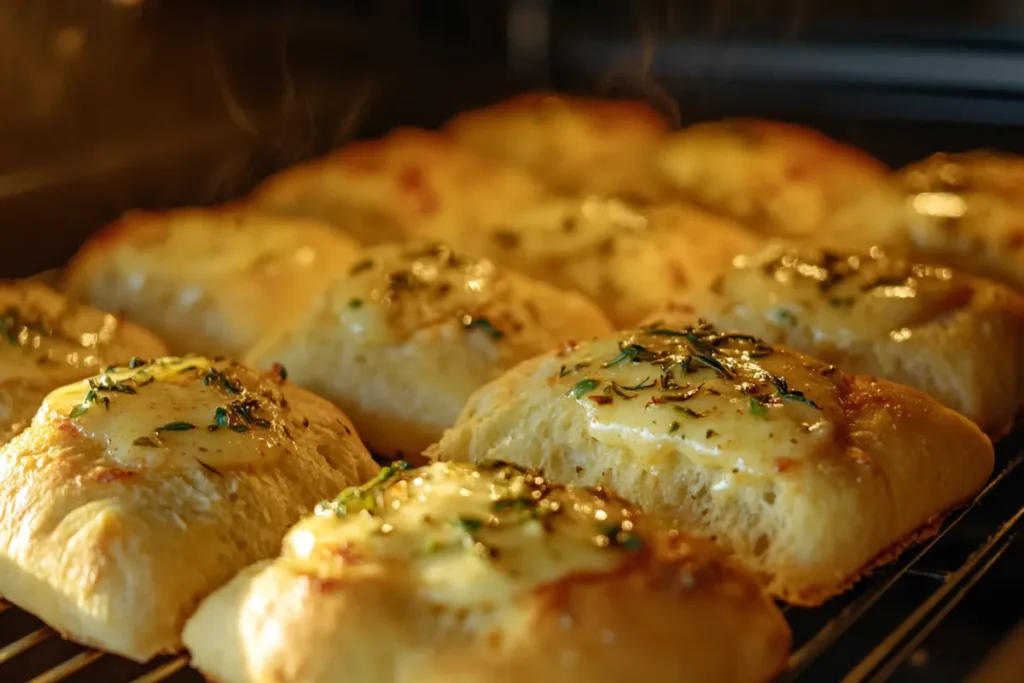
Preheat your oven to 375°F (190°C). Arrange the bread on a baking sheet, buttered side up. Bake for 8-10 minutes until the edges start to crisp and the butter bubbles. If you want extra crunch, switch to broil for the last 1-2 minutes – but keep an eye on it. Burnt garlic bread isn’t the vibe we’re going for.
Air Fryer Method
Preheat the air fryer to 350°F (175°C). Place the bread in the basket (you may need to work in batches). Air fry for 4-6 minutes until golden and crispy. This method gives a quick, evenly toasted result – perfect for when you’re short on time.
Tips and Variations
Tips for Perfect Gluten-Free Garlic Bread
Mastering gluten-free garlic bread is part science, part art. Gluten-free bread can be unpredictable – too dry, too soft, or sometimes just not quite right. But fear not! A few simple tweaks can make all the difference between disappointment and deliciousness.
Achieving the Right Texture
Texture is everything. The goal? Crispy edges with a soft, fluffy center. To get there, start by toasting the bread lightly before adding garlic butter. This creates a barrier that prevents sogginess once the butter melts.
Want even more crunch? Broil the bread briefly at the end – just long enough to get that golden, caramelized top without burning the edges.
A few extra tips:
- Space out the slices – Overcrowding the oven prevents airflow, which can leave bread unevenly toasted.
- Hydrate dry bread – If your bread feels dry out of the bag, lightly brush it with olive oil or a bit of water before buttering. This simple trick adds moisture back into the loaf, ensuring softer slices.
Flavor Enhancements
Sure, garlic and butter get the job done – but why stop there? Elevate your gluten-free garlic bread by infusing the butter with roasted garlic for a richer, sweeter depth of flavor.
Consider these flavor boosters:
- Red pepper flakes – Adds a subtle kick without overpowering.
- Lemon zest – Brightens the loaf with a fresh citrusy twist.
- Fresh herbs – Rosemary, thyme, or parsley lend earthiness and freshness.
- Smoked paprika or Italian seasoning – A simple sprinkle takes the bread to a whole new level.
Layering flavors is the difference between good garlic bread and mind-blowing garlic bread.
Variations of Gluten-Free Garlic Bread
Sometimes, plain gluten-free garlic bread just isn’t enough. The beauty of this dish lies in its versatility – it’s a blank canvas ready for creative twists.
Cheesy Gluten-Free Garlic Bread
Calling all cheese lovers! After generously slathering the bread with garlic butter, sprinkle shredded mozzarella, cheddar, or parmesan over the top. Bake until the cheese bubbles and forms a golden crust.
For an even richer flavor, mix grated cheese directly into the garlic butter before spreading it. This guarantees gooey, cheesy goodness in every bite.
Vegan Gluten-Free Garlic Bread
Dairy-free? No worries – this bread can be easily adapted. Replace butter with vegan margarine, olive oil, or coconut oil. They add just as much richness and flavor.
For a cheesy twist without the dairy, sprinkle nutritional yeast over the bread. It provides a cheesy, umami flavor that mimics parmesan. Vegan mozzarella or dairy-free parmesan alternatives melt beautifully, giving that gooey stretch you crave.
For more dairy-free ideas, check out Dairy-Free Butter Alternatives – a perfect resource for crafting delicious plant-based garlic bread.
Serving Suggestions
What to Serve with Gluten-Free Garlic Bread
Gluten-free garlic bread is more than just a side dish – it’s the unsung hero that transforms ordinary meals into comforting, indulgent feasts. Whether crispy or cheesy, this versatile bread pairs beautifully with a range of dishes, making it a must-have for everything from light lunches to hearty dinners.
Pairing with Soups and Salads
Few things are as satisfying as dipping warm garlic bread into a bowl of rich, creamy soup. Gluten-free garlic bread complements thick, velvety soups like tomato basil, roasted butternut squash, or classic broccoli cheddar. The bread’s crispy edges soak up the broth, turning each bite into pure comfort.
For lighter meals, pair it with fresh, crisp salads. Caesar salad, spinach and strawberry, or arugula with shaved parmesan all benefit from the crunch and flavor of garlic bread. It adds that carb-loaded balance to an otherwise leafy plate, making the meal feel complete.
Complementing Pasta Dishes
Pasta and garlic bread? A match made in heaven. The garlicky, buttery bread is the ideal companion to rich pasta sauces. Creamy Alfredo, tangy marinara, or hearty Bolognese – they all taste better with a side of golden, gluten-free garlic bread.
For an even heartier meal, try serving garlic bread alongside gluten-free lasagna or baked ziti. The crispy bread offers the perfect contrast to gooey, cheesy pasta bakes.
Storage and Reheating
Storing Gluten-Free Garlic Bread
The beauty of gluten-free garlic bread is that it can be made ahead of time and stored for future cravings. But, as every gluten-free baker knows, this type of bread tends to dry out faster than traditional loaves. Proper storage is key to preserving that soft, buttery goodness without losing the crispy exterior we all love.
Refrigeration Guidelines
If you plan to enjoy your garlic bread within 1–2 days, refrigeration is the way to go. After baking, let the bread cool completely. Wrap each piece in foil or place it in an airtight container – this locks in moisture and prevents the bread from drying out.
However, keep in mind that refrigerating gluten-free bread can cause it to firm up slightly. When you’re ready to dig in, a quick reheat will restore that soft center and crispy crust.
For unbaked garlic bread, prep the slices, generously spread the garlic butter, and refrigerate until you’re ready to bake. This makes dinner prep quick and hassle-free!
Freezing Instructions
Want to keep your gluten-free garlic bread fresh for weeks? Freeze it!
- Step 1: Arrange the buttered slices on a baking sheet, ensuring they don’t overlap.
- Step 2: Flash freeze for 1–2 hours until firm.
- Step 3: Transfer the slices to a freezer-safe bag or container, separating layers with parchment paper.
Frozen garlic bread stays fresh for up to 3 months. The best part? You can bake it straight from the freezer. No need to thaw – just add a few extra minutes to the cooking time, and you’ll have golden, crispy bread ready to serve.
Reheating Gluten-Free Garlic Bread
Reheating gluten-free garlic bread the right way makes all the difference between soggy, rubbery slices and perfectly crispy, buttery goodness. Avoid the mistake of microwaving for too long – it can make the bread chewy and limp.
Oven Reheating Method
The oven is hands-down the best way to reheat garlic bread.
- Preheat the oven to 350°F (175°C).
- Place the slices directly on the rack or a baking sheet.
- Heat for 5–7 minutes until warm and slightly crisp.
- For an extra golden finish, broil for the last minute or two – but watch closely to prevent burning.
Microwave Considerations
Short on time? The microwave can work in a pinch – but with caution.
- Wrap the bread in a damp paper towel.
- Heat in 10-15 second intervals until warm.

The damp paper towel prevents the bread from drying out. However, the microwave won’t recreate that oven-fresh crispiness. If possible, soften in the microwave and finish the slices in the oven or air fryer for the best results.
Frequently Asked Questions
FAQs about Gluten-Free Garlic Bread
When it comes to making gluten-free garlic bread, there are often a few lingering questions. From choosing the right bread to ensuring that golden, crispy finish, here’s everything you need to know to perfect this delicious side dish.
Can I use any gluten-free bread for garlic bread?
Absolutely – but not all gluten-free bread performs the same. Look for bread that holds its shape well and isn’t overly crumbly. Gluten-free baguettes or rustic loaves tend to work best because of their sturdy texture. Soft sandwich bread can be used, but toasting it lightly before buttering helps prevent sogginess.
If the bread feels too dry or stale, don’t toss it! Lightly brushing it with olive oil or water before baking can help restore some moisture and improve the final texture.
How do I make dairy-free gluten-free garlic bread?
Making dairy-free gluten-free garlic bread is a breeze. Simply swap regular butter for a vegan alternative or olive oil. Coconut oil also adds a slight sweetness that pairs surprisingly well with garlic.
For that cheesy flavor without dairy, sprinkle nutritional yeast over the bread or use plant-based cheese – it melts beautifully and adds richness. Vegan mozzarella or parmesan alternatives are widely available and work just as well.
For more ideas, check out Dairy-Free Butter Alternatives for the best options.
What are the best gluten-free bread brands for garlic bread?
Several brands are known for producing excellent gluten-free bread. Popular options include:
- Schär – Light, fluffy, and great for garlic bread or sandwiches.
- Canyon Bakehouse – Known for its soft texture and rustic loaves.
- Udi’s – A trusted name for gluten-free baguettes and rolls.
- Against the Grain – Perfect for baguette-style garlic bread.
- Little Northern Bakehouse – Offers delicious loaves and rolls that toast beautifully.
Choosing bread with a sturdy crust helps ensure the garlic butter seeps in without making the bread too soggy.
Can I prepare gluten-free garlic bread in advance?
Yes! Gluten-free garlic bread can be prepped ahead of time. Assemble the bread with garlic butter, wrap it in foil, and refrigerate for up to 24 hours. This method saves time and enhances the flavor as the butter soaks into the bread overnight.
You can also freeze unbaked slices. Just lay them flat on a baking sheet, freeze for an hour, then transfer to a freezer-safe bag. When you’re ready to bake, go straight from the freezer to the oven – no need to thaw. Simply add a few extra minutes to the cooking time.
How can I ensure my gluten-free garlic bread is crispy?
The key to crispy gluten-free garlic bread lies in baking technique. Lightly toasting the bread before applying butter is a game-changer. Bake at a high temperature (375°F or higher) and broil for 1-2 minutes at the end for that final golden crunch.
Avoid overloading the bread with butter – too much can result in sogginess. A thin, even layer is all you need. Also, give each slice a little breathing room on the baking sheet to ensure even airflow and crispiness.
Is gluten-free garlic bread healthier than regular garlic bread?
Gluten-free garlic bread isn’t necessarily healthier but can be easier to digest for those with gluten sensitivities or celiac disease. Some gluten-free bread is lower in fiber and higher in starch, so it’s essential to read the labels carefully.
However, by using fresh garlic, olive oil, and herbs, you can make your garlic bread a flavorful, nutrient-rich addition to any meal. The absence of gluten may reduce bloating and inflammation, making it a more comfortable option for sensitive stomachs.
Conclusion
Gluten-free garlic bread proves that living without gluten doesn’t mean sacrificing flavor, texture, or indulgence. Whether you’re whipping up a batch to complement a cozy pasta night, dipping slices into a hearty soup, or simply enjoying it on its own, this recipe brings comfort food back to the table – safely and deliciously.
By selecting the right bread, mastering the perfect garlic butter blend, and using smart baking techniques, you can create garlic bread that’s crispy on the outside, soft on the inside, and bursting with garlicky goodness. Plus, with easy dairy-free and vegan alternatives, this dish can fit into nearly any dietary lifestyle.
With these tips and tricks, you’re well-equipped to make gluten-free garlic bread that rivals any traditional version. So, grab your favorite gluten-free loaf, fire up the oven, and get ready to enjoy every bite!
Here is another excellent recipes you might enjoy, please be sure to try;

